Homemade Mondays: Cashew Milk and Cashew Cream Cheese

Since going dairy free one of the best things I’ve found (apart from my husband avoiding surgery and my toddler starting to sleep through the night sometimes), is cashew milk. It’s yummy and creamy in my coffee. So it’s become a staple in our house. Since I try not to waste, I’ve been experimenting with what to do with the pulp that’s left when I strain it. The first recipe I found online said you didn’t have to strain it and it would still be creamy and delicious, but I found that not to be true. So in the interest of wasting not and wanting not:

Cashew Milk

Ingredients and supplies:

1 cup raw cashews, soaked 4 hours on the counter or overnight in the refrigerator

3 cups filtered water, plus more for soaking and rinsing

nut milk bag or cheesecloth

large measuring pitcher or bowl

high powered blender (or maybe a normal blender and lots of patience…)


Method:

After soaking, rinse the cashews until the water runs clear. Combine the 3 cups of water and the cashews in the blender. Blend on high for 5 minutes or more (I usually set a timer). Strain through cheesecloth or nutmilk bag until pulp and milk have reached desired consistency. For a thicker milk, add a little less water. For a thinner milk, add a little more. Store in the fridge. You can also add other flavoring agents like honey, maple syrup, or other sweeteners, or vanilla. I don’t do that, because I mostly use this for my coffee and for smoothies for the kids, but if you’re drinking it straight or on cereal or something that might be helpful.

Cashew Cream Cheese

Ingredients:

cashew milk pulp, strained to cream cheesy thickness

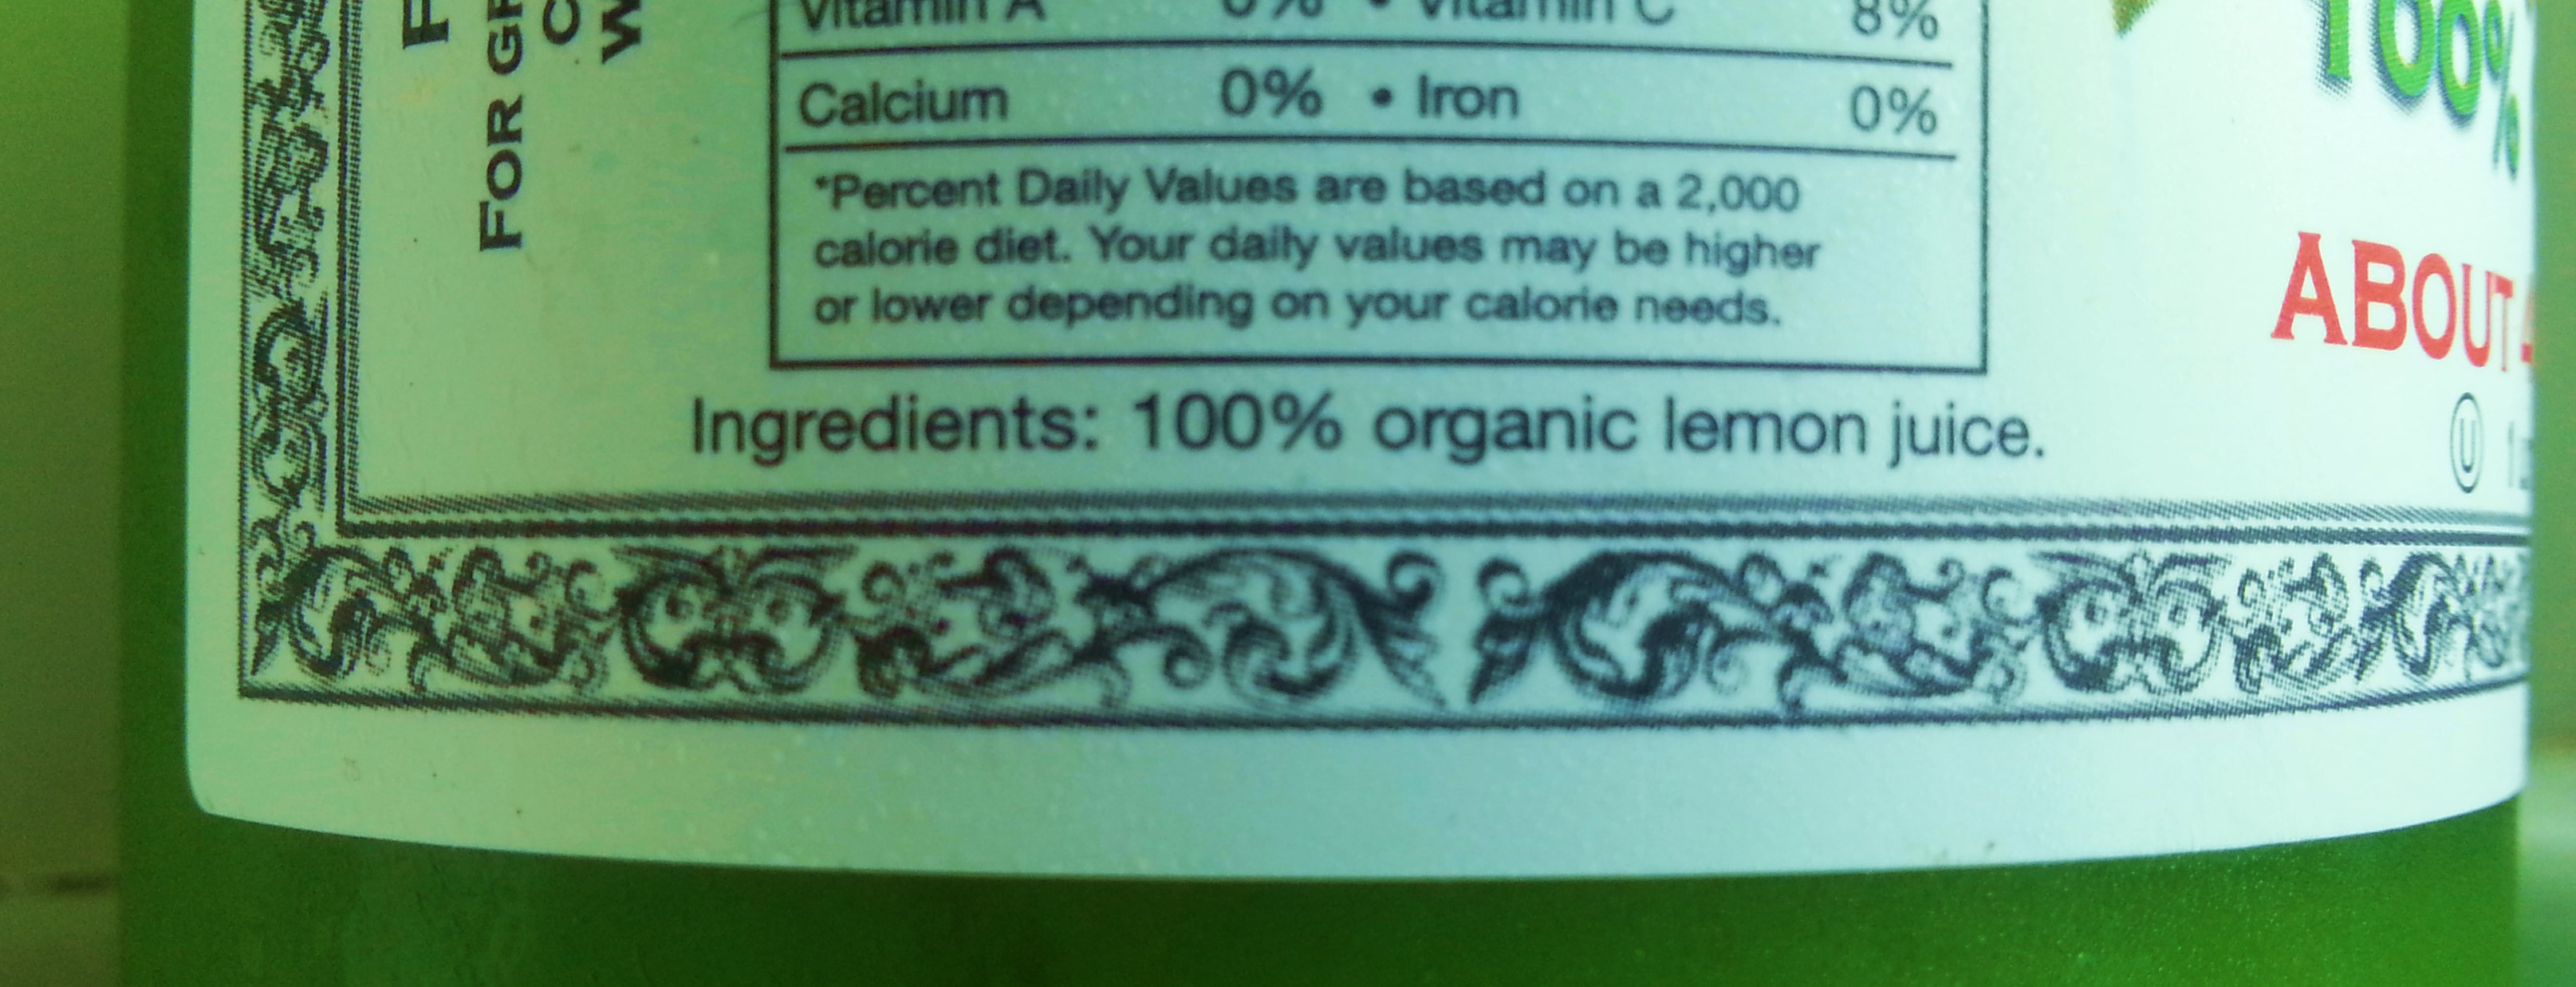
lemon or lime juice to taste (start with only a little!)

salt to taste

Method:

Mix ingredients well with a fork, starting with a tiny bit of each and adding until it has the flavor you want. This is very easy to customize however you like…sweet or savory.

wpid-20140217_093657.jpg

Homemade Mondays: Easy Oven Rice

Some of our Homemade Monday recipes have been a little fancy lately. This one is really simple and really basic, but this trick has saved me from scraping sad burned rice out of the bottom of my pans more times than I’d care to admit. This post could also be called “How to avoid buying yet another appliance that takes up space and only does one thing.”

Easy Oven Rice

Ingredients and supplies:

rice of your choice (also works with several other grains, like quinoa)

water or chicken, vegetable, or other stock

salt (optional)

glass or ceramic casserole dish with a well-fitting glass or ceramic lid

The Method:

Mix one part rice to two parts water (or stock) in the casserole dish. Add salt to taste, if you choose.

Cover and bake for an hour at 350 Degrees. If you oven has a “cook timer” on it, you can even set it to beep when it’s finished, like a rice cooker!

This will work passably well for most rice. I cook both white and brown rice for the same amount of time, although white rice would probably be done a little quicker than an hour.

If you’re interested in doing more research, Alton Brown was the first person I ever saw cook rice in the oven. His recipe is pretty similar but mine is easier and doesn’t use butter. 😉

wpid-20140210_162846.jpg

Homemade Mondays: Flexitarian Taco Dip

Taco Dip is one of my new favorite things. It’s a crowd pleaser and easy to customize for a variety of eaters. It’s very simple to make vegan, vegetarian, dairy free, or meat-loving. Last weekend I made some of this up for my family using only salsa, black beans, and chorizo. It was so simple, and a huge hit! It also makes a good quick dinner if you make sure to add a protein like beans or meat. If you are a Very Responsible Adult you can serve it over rice at a table (we do this sometimes), or you can gather around it as a family with chips and eat it in or by a pillow fort (we do this more). It’s good over eggs for breakfast, too.

You just choose the taco-ey ingredients that suit your nutritional and gustatory needs, mix, heat, and serve! I kind of feel silly calling this a ‘recipe’, so let’s just say it’s more of a serving suggestion.


Flexitarian Taco Dip

Ingredients (include but are not limited to):

salsa of your choice

cooked black beans (bonus points for avoiding BPA in can liners if you cook your own, but hey it’s the holidays so do what you have to!)

tomato paste

corn

chopped olives

cooked ground meat like chorizo

cheese

sour cream

potential fancy looking garnishes: avocado, cilantro, chives, olives, fresh tomato, shredded lettuce

Chips for serving


Method:

Mix together in a pretty skillet if you have one. Warm and serve. If you choose to use dairy make sure not to cook it too long because the cheese will burn. I like to serve this in a cast iron skillet because it keeps it warm longer.

wpid-20131202_090543.jpg


Homemade Mondays: Elderberry Syrup

We recently avoided a cold that got a lot of our friends. Some of them lovingly called it “the plague”. We are not always so lucky, but one trick that definitely works really well for our family is to take a teaspoon of elderberry syrup a few times a day until we feel well again. This syrup is readily available at Whole Foods for about $20 per bottle. This is worth the investment if it keeps you from being miserably sick, but the homemade version is very, very much cheaper and not to hard to make. There are some extras in paranthesis if you want to make it a little fancy, but plain elderberry, honey, and water will work just fine.

Elderberry Syrup

Ingredients:

2 tbsp dried elderberries

(a small cinnamon stick broken up)

(some chopped fresh ginger)

(some dried echinacea root-don’t use this if you’re pregnant. Contraindicated.)

filtered or distilled water

1/4 cup raw, local honey

Method:

Put elderberries and anything else you’re decocting in a small sauce pan. Cover with water (start with 2 cups). Bring to a boil, then continue to boil gently over medium or medium-low heat (depending on how closely you are able to watch it). Use a potato masher or something to mush up the berries and let more of their elderberry goodness out into the water.

Once it is reduced down to slightly more than 1/2 cup, pour through a tea strainer into a pitcher (I use my 2-cup pyrex glass measuring pitcher, but use whatever’s handy). Allow to cool for 10 minutes or so. It needs to still be warm enough to dissolve the honey, but not so hot as to destroy enzymes and other beneficial properties of the raw honey. Stir to combine well, then funnel into whatever container is easiest for you. I like those cute little medicine bottles because they pour nicely, but those can be hard to come by. Spice jars are fine, or just a mason jar.

Take a teaspoon at a time 3-4 times per day when you start to feel sick, after you’ve been sick for a while, or when you’ve been sneezed on by sick people a lot.

I wish you good health as we head into winter!

Nerdy? Sure. Melodramatic? A bit. The thing I think at some point every November? Inevitably.

Nerdy? Sure.
Melodramatic? A bit.
The thing I think at some point every November? Inevitably.

Homemade Mondays: Oral Rehydration Therapy (Otherwise Titled: Gatorade is Kind of Gross)

I’ll spare you the gory details of the inspiration to share this particular recipe today. Let’s just say, in times of great need (and dehydration, vomiting, and…well…other unpleasantness), this is what we turn to. Thankfully we’ve never been life-threateningly dehydrated before (like the Cholera epidemic in Haiti), but apparently even that can be helped by this simple solution.

There are several recipes for this type of sugar-salt-water solution available online, and most of them tend to agree that too diluted is better than not diluted enough. Just FYI.

Oral Rehydration Therapy

Rehydration Drink:

The Ingredients:

1/2 tsp salt

4 tsp white sugar

2 1/2 cups water

The Method:

Mix all ingredients together and either stir to dissolve, or screw a mason jar lid on and shake well. Drink as needed to prevent dehydration symptoms.

**If you are truly seriously dehydrated you should seek medical care. I am not a doctor and don’t pretend to be.**

A word on Gatorade:

I know this is one of the sports drinks people have recommended for a few years to fight dehydration. And I’m sure it is effective, as are many things made by scientists in a lab. But according to the Pepsico website, Gatorade (“Gatorade Cool Blue” to be exact) has the following ingredients:

WATER, SUCROSE, DEXTROSE, CITRIC ACID, NATURAL AND ARTIFICIAL FLAVOR, SALT, SODIUM CITRATE, MONOPOTASSIUM PHOSPHATE, MODIFIED FOOD STARCH, GLYCEROL ESTER OF ROSIN, BLUE 1

Does any of that sound like something you would immediately recognize as food?

Many of these ingredients are derived from GMO corn or beets at best, and beaver anal gland secretions at worst (at least one can hope that’s the worst…).

I know it doesn’t taste fancy or look like neon lighting, but I’ll stick with my homemade all-food version, thanks.

20130805_134843

Homemade Mondays: Tuscan Onion Soup

At a birthday dinner recently (I tend to milk my birthday a little bit, so I get several birthday dinners with different people I love), I ordered a soup like this and the server told me in an impressive tone of voice, “This soup only has two ingredients. Onions, and chicken stock. Isn’t that amazing?”

Now, technically, stock has more than one ingredient. I guess it counts, though, because if you’re not into making stock from scratch you can buy it at the grocery store.

Still, this soup is easy enough to qualify for Homemade Mondays, I think. Feel free to weigh in in the comments if you disagree. The hardest thing about it is that it has to cook long enough to reduce down quite a lot, which takes a while. Good meal for a cold Saturday in October. Or, you know, sometimes in July, if you live in Ohio or somewhere like that. Weather is weird.


Tuscan Onion Soup

Ingredients:

1 large onion per quart of stock

a tablespoon or two of cooking fat, like butter

1 quart of stock per serving of soup desired

salt to taste

toasted bread drizzled with butter or olive oil, or croutons

Cheese (or vegan cheesy substitute if that’s your thing)


Method:

Chop the onions very roughly. Heat the cooking fat on medium heat in a dutch oven or whatever pot with a lid is big enough to hold all of your stock. Add onions, stir it around a little, put the lid on, and let it sit for a minute or two. Check them, stirring occasionally, until they look like their cellular walls might be starting to break down (um, a little softer and turning translucent). This is called “sweating the onions”. It’s a thing.

After this, add the stock of your choice. I used chicken stock and it was delicious. If you’re a vegan or are cooking for one you love, please don’t use chicken stock. Put the lid on and bring the stock and onions to a boil. Remove the lid and reduce the heat to low. Stir occasionally for hours (mine cooked from about 10 in the morning until 3 in the afternoon), until it has reduced enough to make a thicker pureed soup.

Use a food processor (medium-easy), blender (easier), or immersion blender (easiest!!) to blend up the soup until it’s smooth and creamy. Apparently this makes it Tuscan instead of French (actually, that’s not true! Google leads me to a bunch of really vague differences including but not limited to the fact that Tuscan onion soup uses chicken stock or a mixture of chicken and beef stocks while French onion soup is based on beef stock only. If you have better information please feel free to enlighten us all–I only titled the recipe the way I did because it’s based on something by that name from a restaurant).

Salt to taste (stir well before you check this!) and serve immediately, or rewarm later and serve in bowls with bread or croutons and cheese sprinkled on top.

Tuscan Onion Soup.jpg

Homemade Mondays: Lemonade Concentrate

So, I’m starting a new blog series. In honor of my little brother and his new wife, and in honor of lots of people who ask me for recipes for lots of things. Feel free to email or comment and make requests for basic recipes and I’ll add them to the queue. The point of this series is to highlight EASY ways to make less processed versions of things.

As someone who is kind of into homemade from scratch kind of things, I read a lot of recipes and tutorials online. And most of them start with some version of “This is really easy.” Sometimes, they are. And sometimes, people are underestimating how much work it takes to learn a new process. Making yogurt was like that. Every single recipe I found online said that making yogurt was very simple and takes very little work. And you know what? Now I think that’s true. It was worth it to do the work to learn to make yogurt from scratch. But at first, it seemed very complicated.

So my goal for this series will be to find things that actually are easy, the first time, and can offer ways to cut down on processed ingredients without driving yourself crazy.

So for this first installment I present, for your leisure:


Lemonade Concentrate

Ingredients:

Lemon juice

*Natural sweetener of your choice

*”Natural” meaning found in nature, not “natural” meaning, well, whatever it means when companies put it on the front of a processed food item. “Natural” in my usage means that everything on the ingredients list would be easily recognized as food. I usually use light maple syrup, but you could use honey, sugar, agave, brown rice syrup, or whatever.

Method:

Mix up equal parts lemon juice and sweetener in a mason jar. Put the lid on, shake until combined (honey will take a long time, or you can let it sit until it dissolves), and store in the refrigerator. To make it up, put a little in the bottom of a glass or pitcher (maybe 1/8 full), and dilute to taste.

No, seriously, that’s it. If you want it to be more lemon-ey, or sweeter, or stronger, adjust accordingly. If you are adding more honey, just make sure you have time to let it sit and dissolve.

Things you can add, just for fun (but you don’t have to if it stresses you out):

Frozen blueberries, strawberries, etc. to turn it pretty colors

Fresh mint or even sage or other herbs

Sparkling water or ginger ale

Iced tea

Lime juice instead of lemon juice


Yay, summer, and yay, lemonade!

lemon juice

How not to be a local foodie

It was a beautiful Saturday morning. Idyllic, really. The sun was shining, the shoppers were hungry, and the produce was fresh. I was waiting in line at my one of my favorite farmer’s stands, waiting my turn.

The lady in front of me paid with a $20. She apologized for not having smaller change. If you google “how to shop at a farmers’ market” you will probably find something about carrying small bills if you can to make it easier for them. It’s a thing.

The farmer looked at her and smiled kindly. “That’s ok, ma’am! I know what you mean, though! You know, sometimes when you go to the drive-thru at McDonald’s and all you have is a $20 and it takes them f o r e v e r to give you change? I hate that.”

Her smile froze. She stared at him in disbelief, then said in a trying-to-remain-calm voice, “I NEVER eat McDonald’s.” She took her change and walked quickly away.

Now, I’m not saying that it’s bad to never eat McDonald’s. My kids have never eaten there, and I don’t remember the last time I did, either. Yay us. Or whatever. But friends, I am begging you, don’t be that guy. Don’t make people feel like crap because they do eat McDonald’s (especially if they are the ones growing your food). Do you like to be judged by other people just because they need to feel like they have made the right choices themselves? No? Well, that makes sense, because nobody likes that. And it uses energy that you could be putting into something so very much more productive. Like finding the correct change to use at farmers’ markets. Or really any of a number of activities that won’t conclusively brand you (and many of the rest of us who care about where their food comes from) as an elitist.

Easy Blender Mayonnaise

“Hey! I made some mayonnaise. Should we make some oven fries to go with it?”

“Um, mayonnaise?? What’s that??” Suspicious-of-my-mom eyes.

“It’s made with eggs, and olive oil, and salt and a little lemon….it’s creamy and delicous, see? Look!”

“Mo-oommm, are you talking about aioli?”

Yeah, I have THAT kid. One of that occupational hazards of being really into food, I suppose. I’m ok with it.

There are some great posts out there detailing the delicate differences between mayo and aioli, if you’d care to look into it. Apparently, what I make is something in between though it leans a bit more toward aioli. Whatever you choose to call it, this condiment is a staple in our house. As with many of my staple homemade items, I started making it because I was too lazy to drive to the store for it one day. As such, it was requested some time ago that I post the recipe. I think the original people who asked me have figured it out on their own. Hope so, because it’s, ah, been a minute–sorry ’bout that!

Anyhow. Here it is.

Easy Blender Mayonnaise

Ingredients:

1 whole egg

1-1/4 c olive oil (you could use other oil you find delicious)

1 tsp salt

1 tsp sugar or honey

(1 tsp dry mustard powder)

(1-2 cloves garlic)

(a dash hot sauce or chili powder)

3 tbsp lemon juice or apple cider vinegar (I fill a 1/4 cup about 3/4 of the way and sort of eye-ball it)

Method:

Combine in blender: egg, 1/4 c olive oil, salt, sugar, and any seasonings you choose to use. Blend until well combined. With the blender running on low (and hopefully through the small hole in the lid if you can; otherwise it makes a bit of a mess), SLOWLY stream in 1/2 c oil, then the lemon juice, then the rest of the olive oil. Don’t rush this part. After everything is streamed in, turn the blender up higher and let it go until it looks like mayonnaise. That’s it. Dip oven fries in it, spread it on a sandwich, use it in deviled eggs, or however you use aioli. Or, you know, mayonnaise. My friend L mixes it with pesto and uses it for dips and sandwiches and things. Ooh, I’m hungry just thinking about that.

Troubleshooting:

If you feel like it’s never going to happen (and it’s been more than 3 minutes or so), then you can either throw it out and start over (that’s sad) or remove some of the liquid, add a whole egg (the yolk acts as a binding agent and the white helps it to stop being a liquid), then blend until it looks like mayonnaise, adding back in as much of the original mixture as you can.

aioli ingredients

Crockpot Tomato Soup (can be dairy-free, gluten free, and vegan!)

I had chicken stock in my crockpot and it was time to either make something out of it, or figure out how to store it. Being lazy efficient, and having butter and creamy kefir cheese (think cream cheese, but the kind that won’t keep my lactose intolerant toddler up screaming all night…), I decided to try a new use-it-up kind of recipe. I am kind of shocked by how delicious it was, so I’m writing it down so I can try to duplicate it again. This is also an easily vegan-friendly cream of tomato soup recipe, because although I used chicken stock I think any kind of stock would be just great.

Dairy-Free Vegan Crockpot Tomato Soup

Ingredients:

Stock of your choice (2 quarts or so)

Tomato Sauce (a quart-ish)

1-2 cups of cooked chickpeas (one can would be fine)

2-3 medium carrots, roughly chopped (I cut them into about 4 pieces)

1 medium onion, quartered

1-3 cloves garlic (I used 3, because garlic is delicious)

salt to taste

(a little sweetener, if it tastes too tomato-ey; mine didn’t, but yours might–go easy on that!)

Method:

Put everything into the crockpot, cook for a few hours until everything is fairly soft, then use an immersion blender to puree the soup. If you don’t have an immersion blender (one of those gadgets that seems ridiculous until you have one, and then it seems fantastic!), you could do a little at a time in a regular blender or food processor.

You could dress it up to serve with any number of things: bacon crumbles, grated cheese, sour cream, chives or other chopped fresh herbs, a little wine mixed in, some roasted red peppers, etc. Use your imagination! Obviously, if you add cheese or bacon to it, it would no longer be vegan, so choose accoutrements according to your conscience. 🙂 Or enjoy it, as we did, as simple comfort food for a cold, Clevelandey kind of Friday evening.

crockpot tomato soup